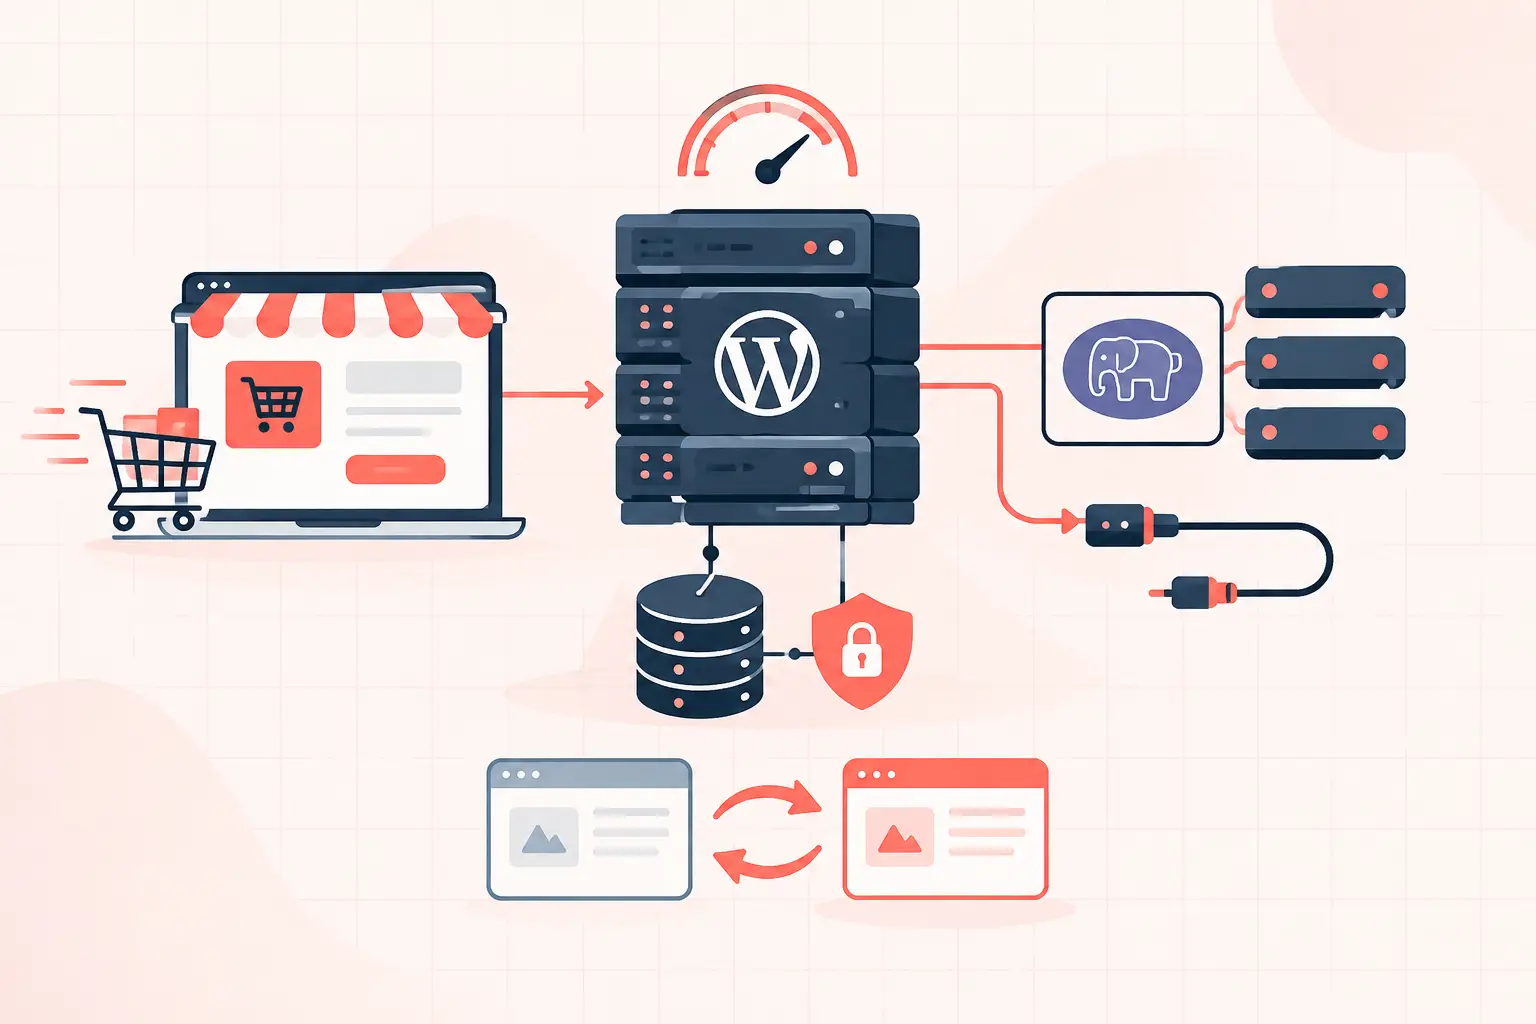

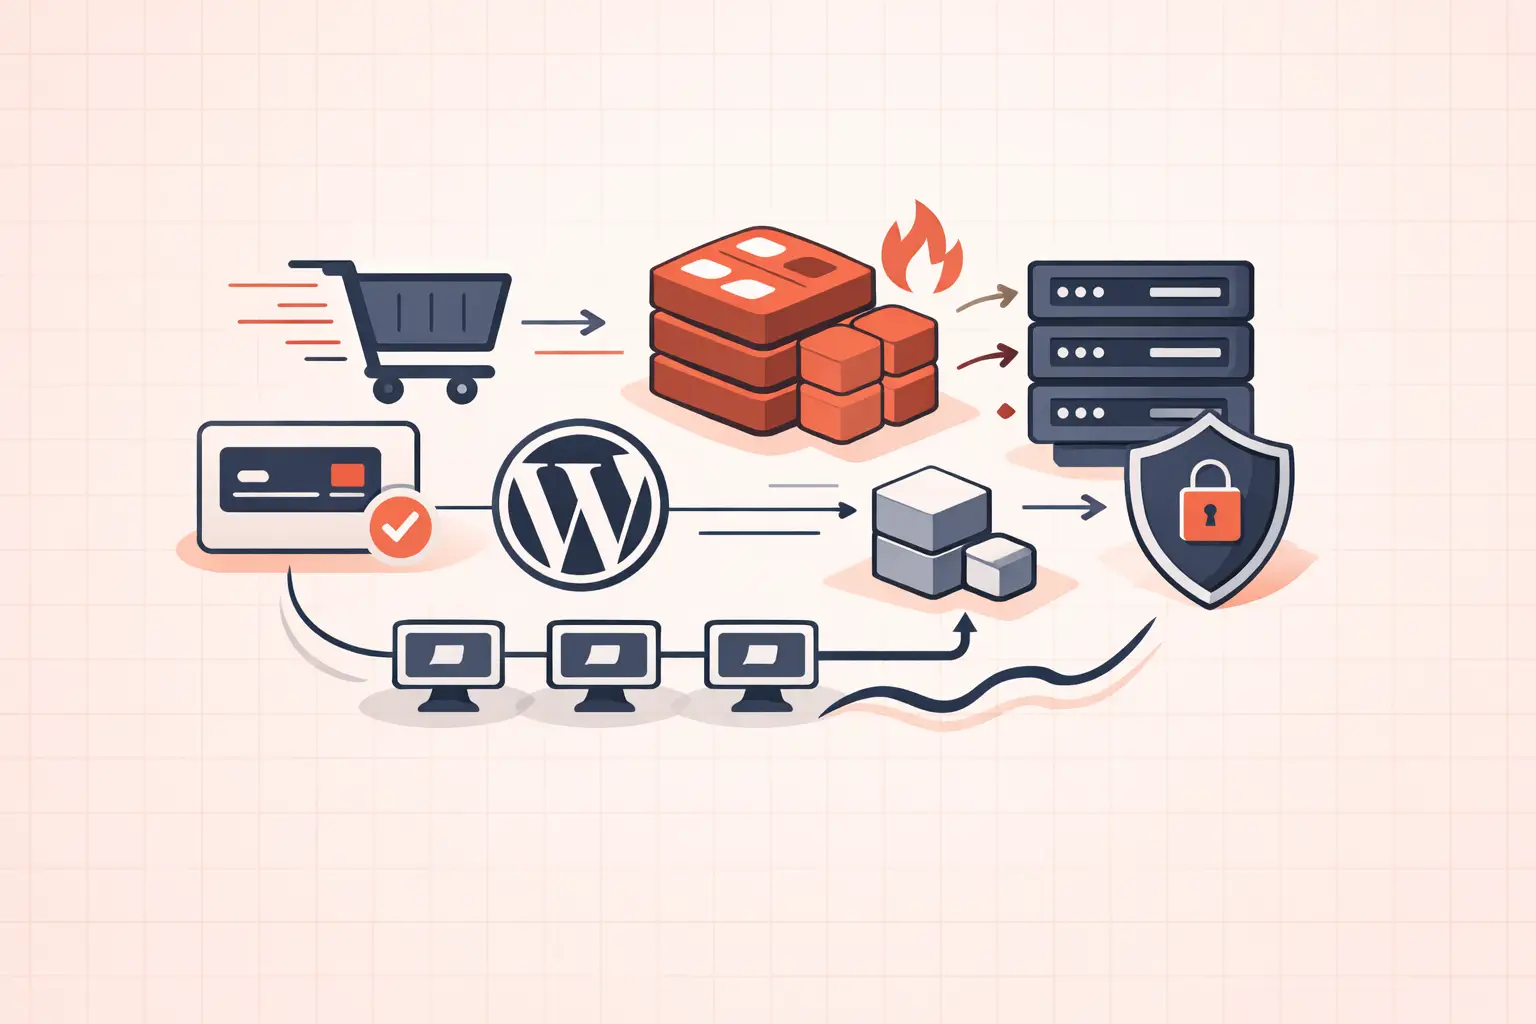
A slow WordPress admin, inconsistent WooCommerce checkout, or high TTFB on uncached pages often points to repeated database work. To configure Redis for WordPress correctly, install Redis locally, connect it through a persistent object-cache drop-in, give the site its own cache prefix, and verify that WordPress is recording cache hits. Do not treat Redis as a page-cache replacement, and do not enable it blindly on shared or poorly isolated infrastructure.
Redis helps WordPress avoid rebuilding the same expensive data during every PHP request. That can materially reduce database load and improve response times for logged-in users, cart activity, REST API calls, and other requests a full-page cache cannot safely serve.
What Redis Does for WordPress
WordPress has a built-in object cache, but it normally exists only for the duration of one request. A database query runs, WordPress stores its result in memory, and that memory disappears when PHP finishes. A persistent Redis object cache keeps eligible data available for later requests.
That changes the economics of busy sites. Instead of asking MySQL for the same options, taxonomy terms, query results, and plugin-generated data hundreds of times per minute, WordPress can retrieve much of it from Redis memory.
Redis is not a cure for every performance problem. It will not fix a slow third-party API, bloated JavaScript, exhausted PHP workers, missing database indexes, or an underpowered server. It is also not the same thing as full-page caching from NGINX, LiteSpeed, or a WordPress cache plugin. Page caching serves an assembled HTML response. Redis stores application objects used while PHP builds a response.
For WooCommerce, that distinction matters. Product and category pages may be page-cacheable, but cart, checkout, account, and authenticated requests generally are not. Those are precisely the requests where a healthy object cache can reduce repeated database work.
Before You Configure Redis for WordPress
Confirm that Redis is available as a local service or through your managed host. A remote Redis instance across a public network is usually a bad trade for a single WordPress site: network latency and security exposure can erase the benefit. Redis should normally listen on localhost, a private network, or a Unix socket.
You also need a host that provides enough memory and proper account isolation. Redis uses RAM. If the server is already swapping, adding Redis will make the site less stable, not faster. On shared environments, never assume `FLUSHALL` is safe. That command clears every Redis database accessible to that Redis instance and can disrupt unrelated sites.
Before changing anything, take a database backup and record a baseline. Check a few uncached URLs, WordPress admin screens, and WooCommerce cart actions. If you are diagnosing TTFB, test as both a logged-out visitor and a logged-in user. Redis gains are often strongest in the second case.
Install and Secure the Redis Service
On a Debian or Ubuntu server with root access, install Redis with:
sudo apt update sudo apt install redis-server sudo systemctl enable redis-server sudo systemctl start redis-server redis-cli pingA healthy local instance returns:
PONGCheck the Redis configuration file, commonly `/etc/redis/redis.conf`. The safe default for a single-server WordPress deployment is to bind Redis to loopback only:
bind 127.0.0.1 ::1 protected-mode yes port 6379Do not expose port 6379 to the public internet. Redis instances without proper network controls have been routinely abused for data theft, cryptomining, and destructive commands. A firewall rule is helpful, but binding only to localhost is the first line of defense.
For higher-traffic sites, set a memory ceiling and an eviction policy rather than allowing Redis to consume all available RAM. A common starting point is:
maxmemory 512mb maxmemory-policy allkeys-lruThe correct memory limit depends on the server. A content site with a modest database may need far less; a busy WooCommerce store may need more. Leave enough RAM for MySQL, PHP-FPM, the operating system, and filesystem cache. On database-heavy WordPress servers, starving MySQL to feed Redis is a poor exchange.
Restart Redis after changes:
sudo systemctl restart redis-serverConnect WordPress With a Persistent Object Cache
Install one reputable Redis object-cache plugin, not several. The widely used Redis Object Cache plugin is a straightforward choice because it creates WordPress's required `object-cache.php` drop-in and provides clear status information.
After installing and activating it, add explicit connection settings to `wp-config.php`, above the line that says `That's all, stop editing!`:
define( 'WP_REDIS_HOST', '127.0.0.1' ); define( 'WP_REDIS_PORT', 6379 ); define( 'WP_REDIS_DATABASE', 0 ); define( 'WP_REDIS_PREFIX', 'example_com:' ); define( 'WP_CACHE_KEY_SALT', 'example_com:' );The prefix and key salt are not decorative. They prevent cache-key collisions when multiple WordPress installations use the same Redis instance. Use a stable, unique value for each site. A domain-derived prefix is easy to identify during troubleshooting, but avoid characters that may vary between staging and production URLs if you clone environments frequently.
Then enable the object cache from the plugin screen or with WP-CLI:
wp redis enable wp redis statusA successful status report should show that the drop-in is installed, Redis is reachable, and object caching is enabled.
If your host uses a Unix socket instead of TCP, configure the socket path supplied by the host rather than forcing `127.0.0.1:6379`. Unix sockets can avoid a small amount of TCP overhead, but the practical gain is usually minor compared with proper database tuning and adequate PHP capacity.
Verify That It Is Actually Working
A green plugin status screen is not enough. Confirm Redis is receiving traffic:
redis-cli info stats | grep keyspace redis-cli info memory | grep used_memory_human redis-cli info keyspaceLoad several WordPress pages, visit the dashboard, and repeat the checks. You should see keyspace activity and memory usage above zero. The object-cache plugin's metrics should also show cache hits increasing as requests repeat.
Use this simple interpretation when reviewing results:
| Signal | What it usually means |
|---|---|
| High cache hits, stable memory | Redis is serving reusable WordPress objects effectively. |
| High misses after deployment | Normal at first. The cache is warming. |
| Memory reaches the limit constantly | The cache is too small, eviction is too aggressive, or plugins are storing excessive data. |
| No keys or no hits | The drop-in is inactive, WordPress cannot connect, or the site is bypassing the configured instance. |
Do not benchmark by refreshing one public page after a page cache is active. You may only be measuring cached HTML from NGINX or your caching plugin. Test an uncached endpoint, an authenticated request, or a controlled load test while watching database queries, PHP worker saturation, and Redis hit rates.
Avoid the Failure Modes We See Most Often
The first failure is running two object-cache plugins. WordPress can use only one `object-cache.php` drop-in. Installing a second caching plugin may overwrite the first drop-in, produce misleading status reports, or create fatal errors after an update. Keep one persistent object-cache implementation and confirm ownership of the drop-in.
The second is using Redis as a dumping ground for transient data with no expiration strategy. Some plugins generate enormous transient payloads or cache highly variable queries that rarely repeat. More keys do not automatically mean better performance. If Redis memory climbs rapidly while hit rates remain poor, inspect plugin behavior before increasing the memory limit.
The third is flushing Redis during routine troubleshooting. A targeted cache flush may be appropriate after a deployment, data import, or plugin bug, but it can create a temporary database surge on a busy store. Flush the affected site's cache only when your plugin and infrastructure support isolation. Avoid broad server-wide flushes during peak traffic.
The fourth is caching data that should remain request-specific. Reputable WordPress object-cache plugins handle WordPress's non-persistent cache groups, but custom code can cause trouble. Be careful with user-specific, cart-specific, nonce-related, and payment-session data. Test checkout, login, password reset, and account actions after enabling Redis, preferably on staging first.
When Redis Is Not the Next Fix
If PHP workers are queued, Redis may reduce work per request but cannot create more concurrent execution capacity. If MySQL has a slow query caused by a missing index, Redis may mask it until the cache expires. If the server's CPU is weak or oversold, object caching cannot compensate for unpredictable compute time.
The best results come from a stack where each layer has a defined job: full-page caching for anonymous traffic, Redis for persistent WordPress objects, tuned MySQL for cache misses, enough PHP workers for dynamic requests, and fast CPU performance for code that still must run. This is why infrastructure matters as traffic grows. High-frequency hardware such as AMD Ryzen 9950X systems helps dynamic WordPress workloads, but configuration discipline remains the difference between a fast cache and an expensive new bottleneck.
Once Redis is enabled, keep watching it after plugin updates and traffic spikes. A cache that stays measurable, isolated, and boring is doing its job. That is the outcome you want: fewer repeated database calls, steadier dynamic response times, and no surprise checkout failures when the site is busiest.