WordPress is one of the world’s most popular Content Management Systems (CMS). It powers over 30% of all websites on the internet. There are many reasons why WordPress is so popular, including its ease of use, flexibility, and the vast array of plugins and themes available to customize it. However, managing a WordPress website can be challenging, especially if you are making changes to your website regularly. This is where a WordPress staging area comes in.
This article will discuss why you need a WordPress staging area and how to use one effectively:
What Is a WordPress Staging Area?
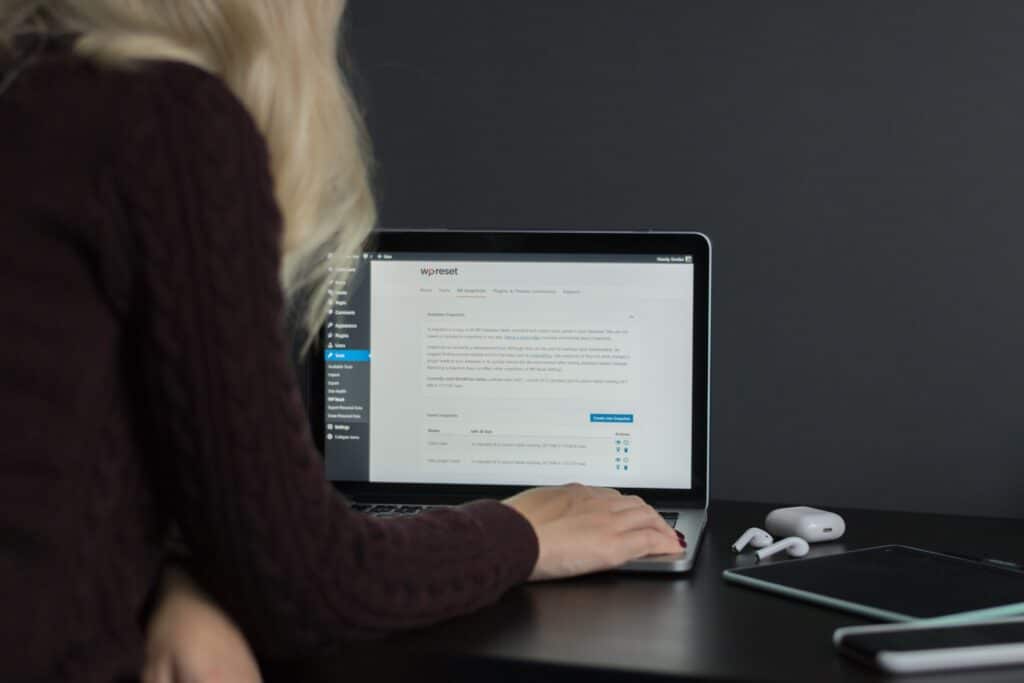
A WordPress staging area is a separate environment where you can make changes to your website without affecting your live site. It’s a replica of your live website, where you can test and experiment with new features, themes, and plugins before deploying them to your live site.
Why You Need a WordPress Staging Area
A WordPress staging area is a separate environment where you can test changes to your website before making them live. It is essentially a duplicate version of your website where you can try out new plugins, themes, and configurations without affecting your live site. This allows you to experiment and make changes without risking any negative impact on your website’s performance or user experience. Once you’re satisfied with the changes made in the staging area, you can deploy them confidently to your live site.
1. Avoid Downtime
Making changes to your live website can cause downtime, resulting in lost revenue, traffic, and customers. A staging area allows you to test changes and ensure that everything works correctly before deploying them to your live site, minimizing the risk of downtime.
2. Test new features
A staging area allows you to test new features, plugins, or themes without affecting your live site. This means you can experiment with new functionality without worrying about breaking your website.
3. Better Collaboration
If you are working with a team, a staging area allows you to collaborate and test changes without affecting the live site. This means each team member can work on their changes without worrying about conflicts or errors.
4. Faster Deployment
Using a staging area can speed up the deployment process. Once you have tested and approved changes in the staging area, you can quickly deploy them to your live site, ensuring everything runs smoothly.
How to Use a WordPress Staging Area
1. Choose a Hosting Provider that Offers Staging
Many hosting providers offer staging areas as part of their hosting packages. If that’s the case, you can ask them for assistance.
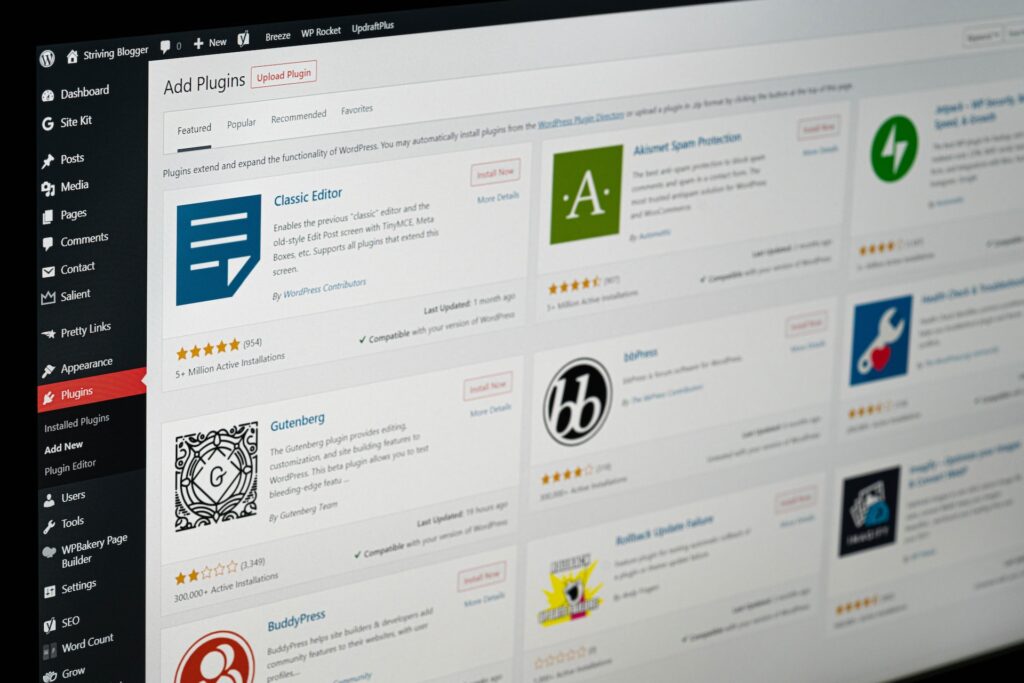
2. Create a Staging Site
If your hosting provider doesn’t offer staging, you can create a staging site manually using a plugin like Duplicator or WP Staging. These plugins allow you to clone your live site and make a staging environment.
3. Make Changes
Once you have created your staging site, you can start making changes. This can include testing new plugins, themes, or functionality. It’s essential to test everything thoroughly before deploying any changes to your live site.
4. Deploy Changes
Once you have tested and approved changes in the staging area, you can deploy them to your live site. This can be done manually or using a plugin like WP Staging or Duplicator.
A WordPress staging area is an essential tool for managing your WordPress website. It allows you to make changes, test new functionality, and collaborate without affecting your live site. Using a staging area, you can avoid downtime, speed up deployment, and ensure everything runs smoothly on your live site. So, if you are not already using a staging area, it’s time to start!
Obtain assistance and guidance for WordPress with WP Tango’ personalized support. Our skilled experts will ensure that your WordPress website operates seamlessly, taking the burden off your shoulders. Contact us to find out more about our WordPress management solutions!